Why It Happens Here
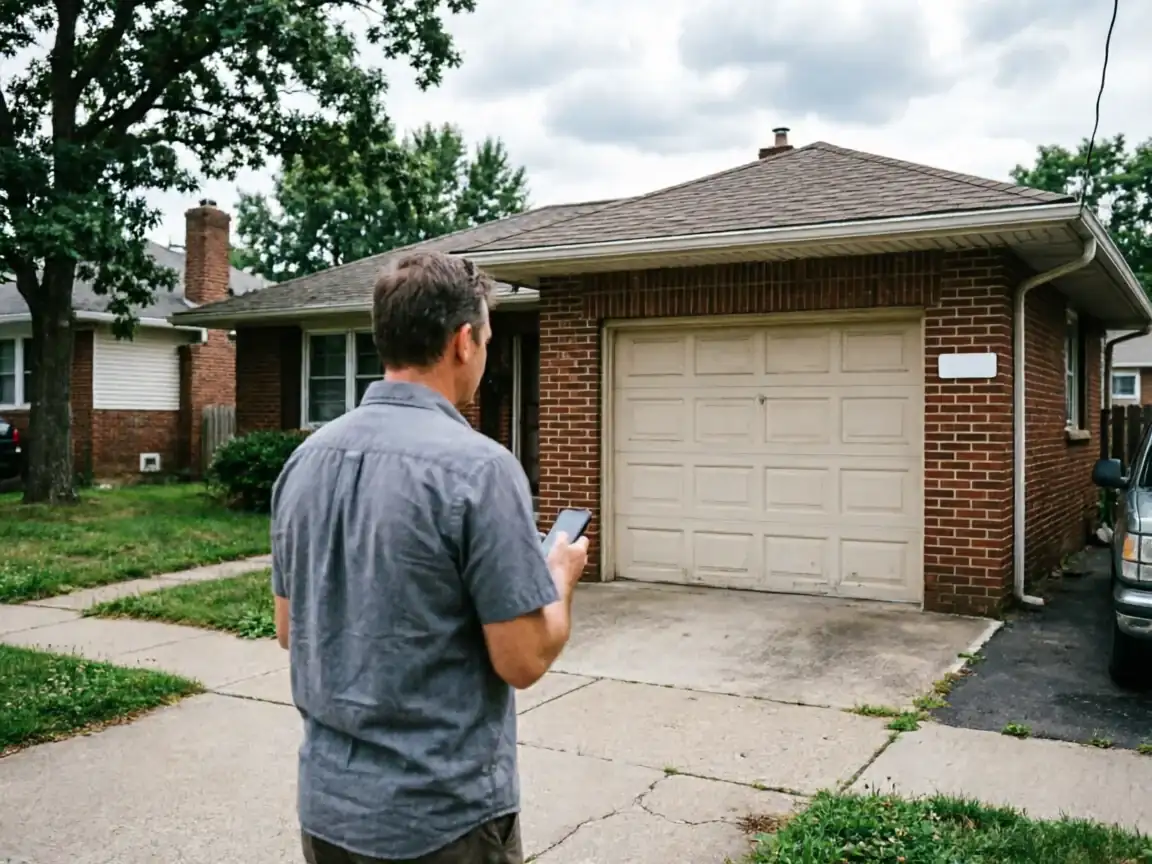
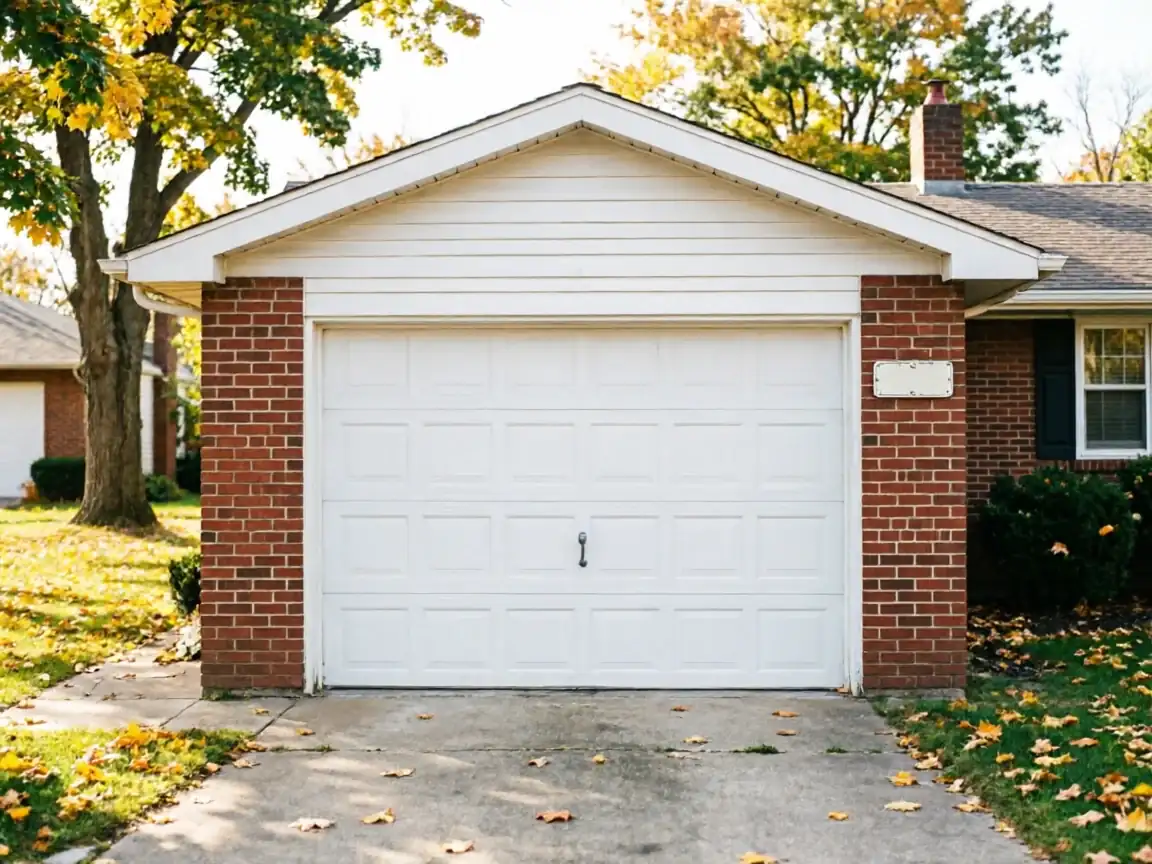
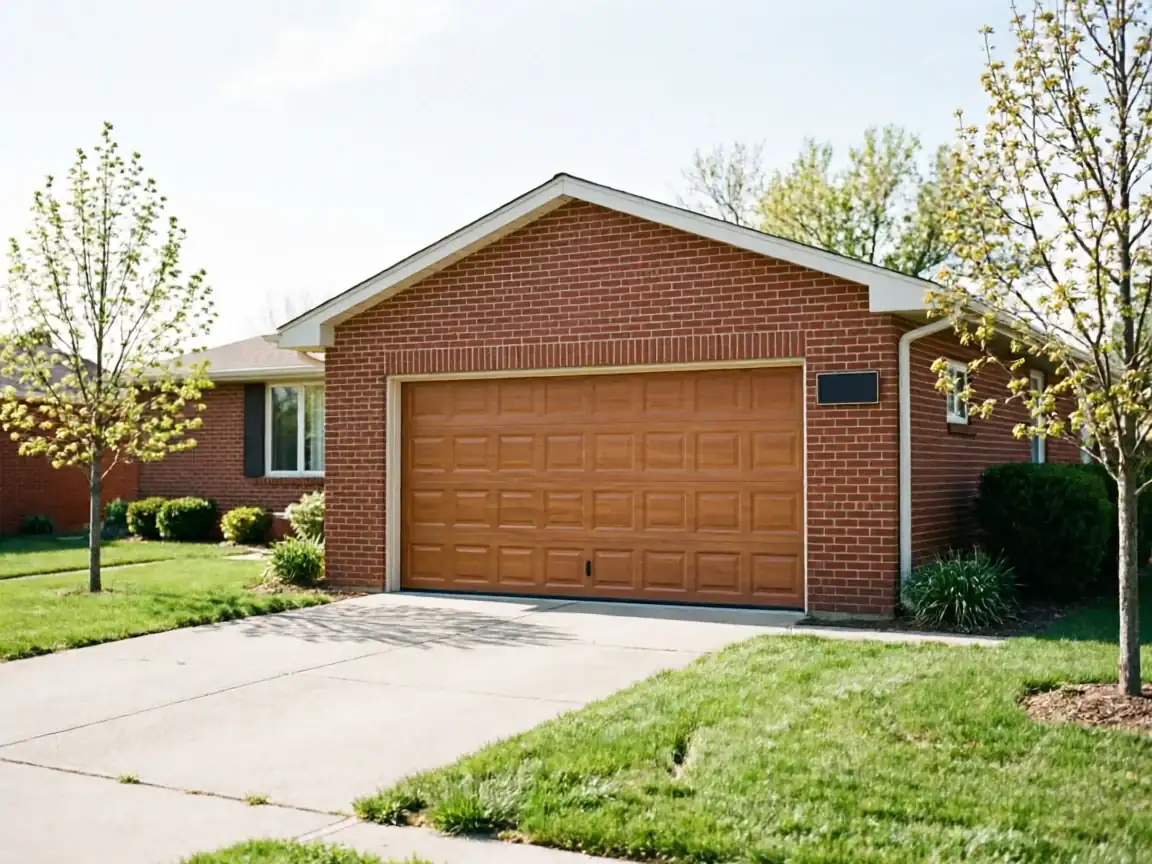
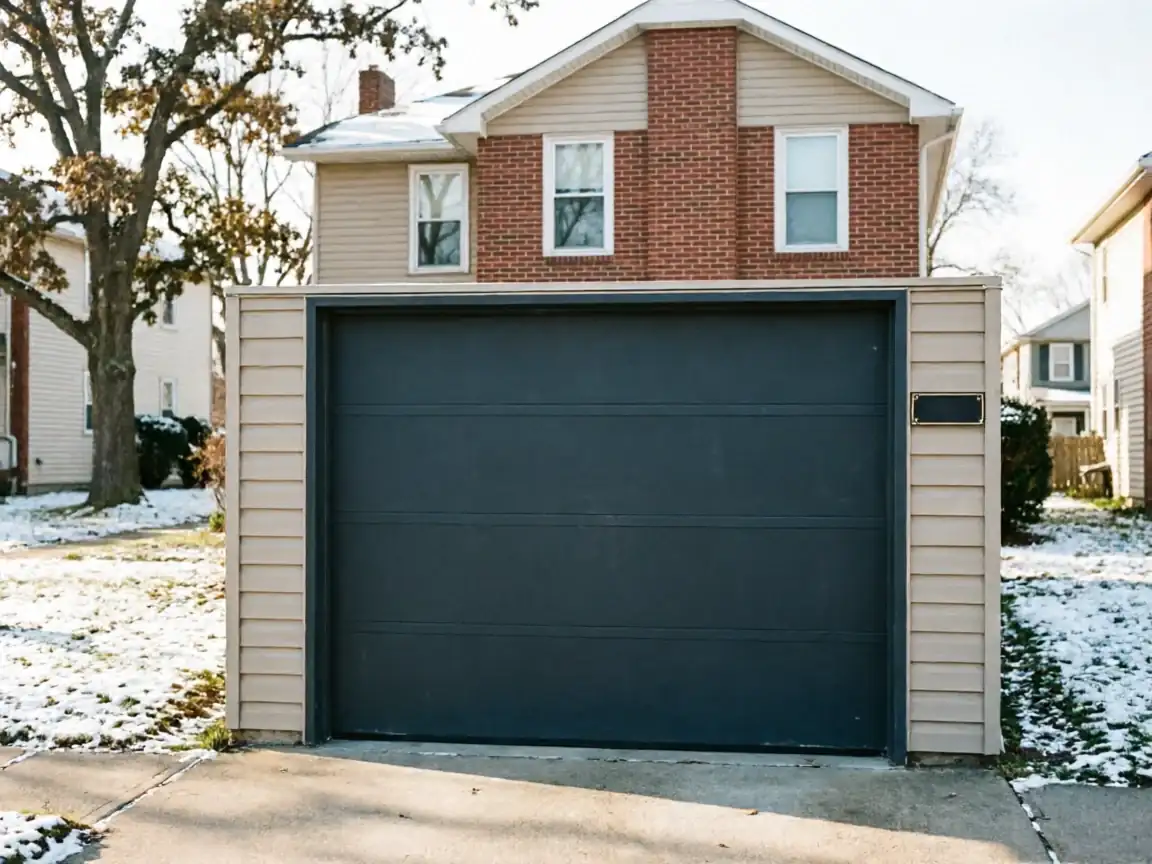
Most of the housing stock in this part of the service area went up between 1938 and 2004
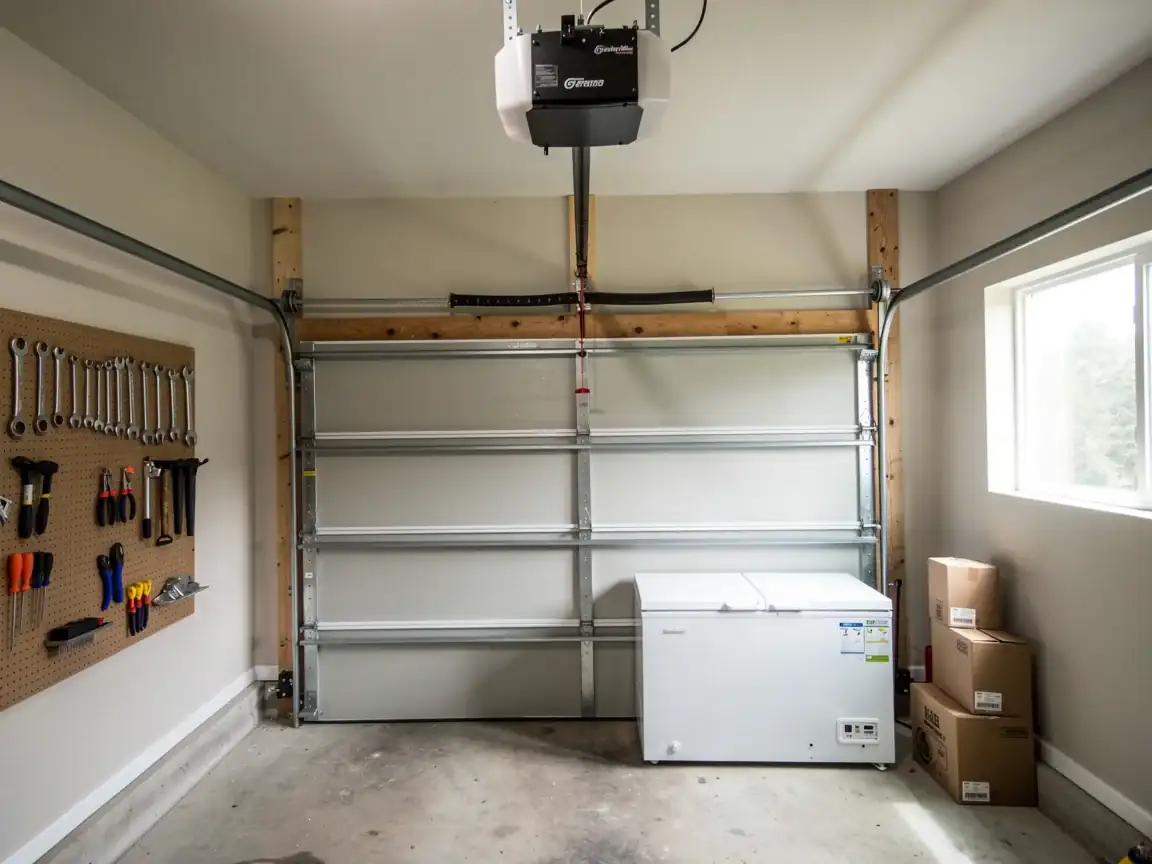
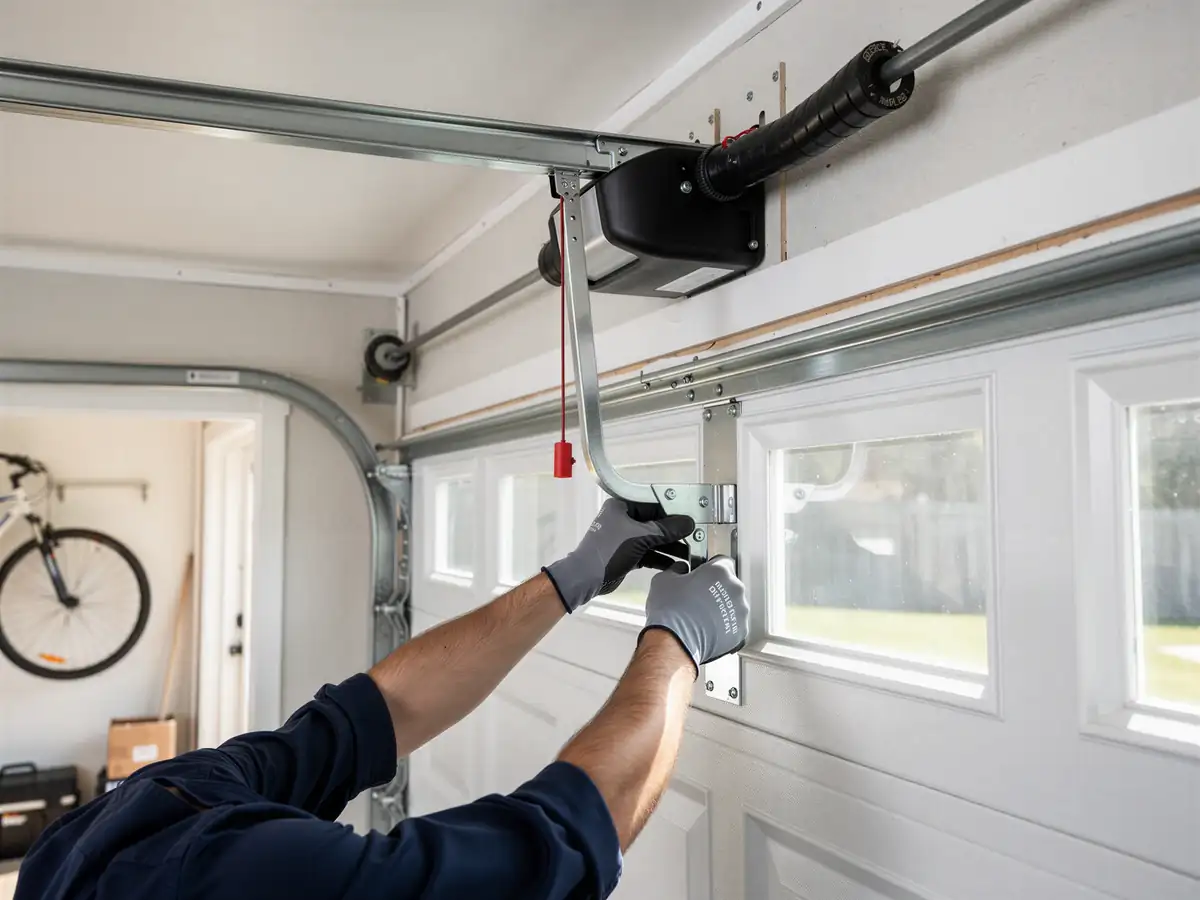
With the bulk of it dating to the 1960s and 70s. That matters for openers more than people think. Houses from that stretch were framed for the hardware of their decade - lighter doors, smaller motors, chain-drive units bolted to headers that were never built for the heavier insulated doors a lot of owners have since installed. When a homeowner upgrades the door but keeps the original opener, or vice versa, the mismatch shows up as strain on the rail, the gear, or the header bracket itself.
The cold is the second piece
This area sits in a moderate-cold climate band, which means grease and lubricant in an aging opener thickens every winter, gears see more resistance on start-up, and the capacitors in older circuit boards wear out faster from repeated cold starts than they would in a milder climate. An opener that's handled fifteen years of that cycle is a different animal from one that's fifteen years old in a warm state. None of this is dramatic - it's just slow wear that ends the same way, with a motor that hums and doesn't move the door.
How Long It Takes
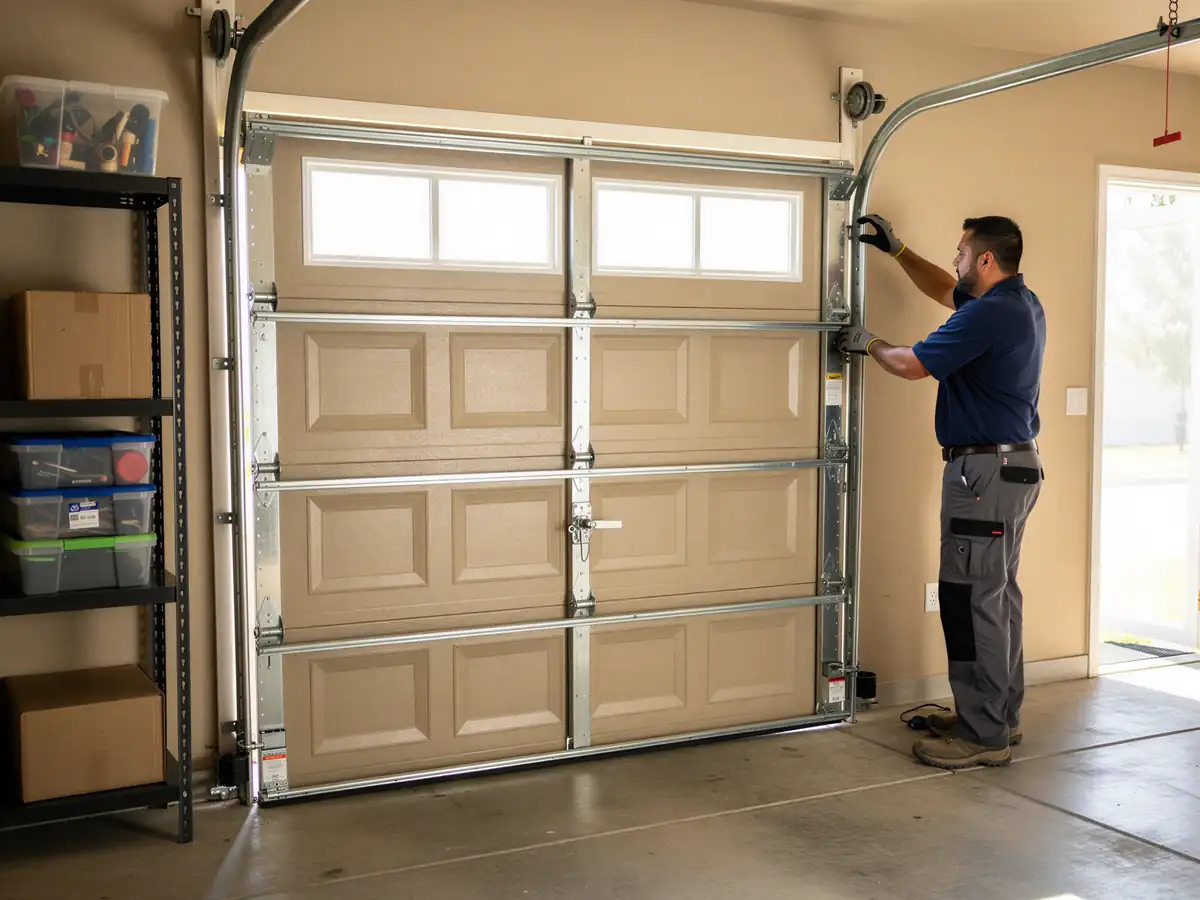
A straight swap - same mounting point, same door, no header or wiring rework - is usually a half-day job. Add a header repair because the old wood bracket has split under a heavier door, or run new 120V service to the garage because the house never had it, and the job stretches into a full day. Houses on the older end of the 1938-2004 build range are more likely to need that extra header work, simply because the framing was sized for a lighter original door.
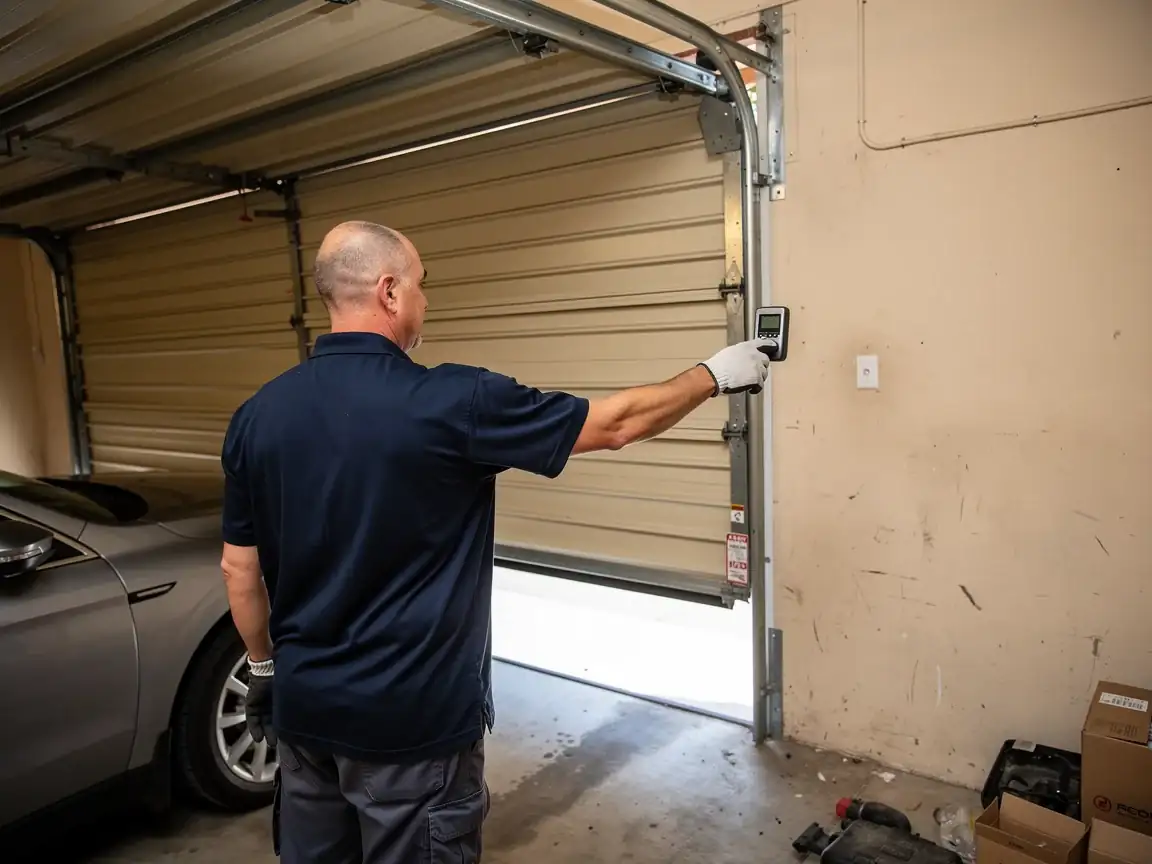
We test the full cycle before we leave - open, close, auto-reverse, force settings - and we don't call a job done until the opener runs quiet and the safety sensors are aimed and working. If a job needs a part we don't have on the truck, that adds a day, not a week, but we'd rather tell you that up front than guess.
The Symptom
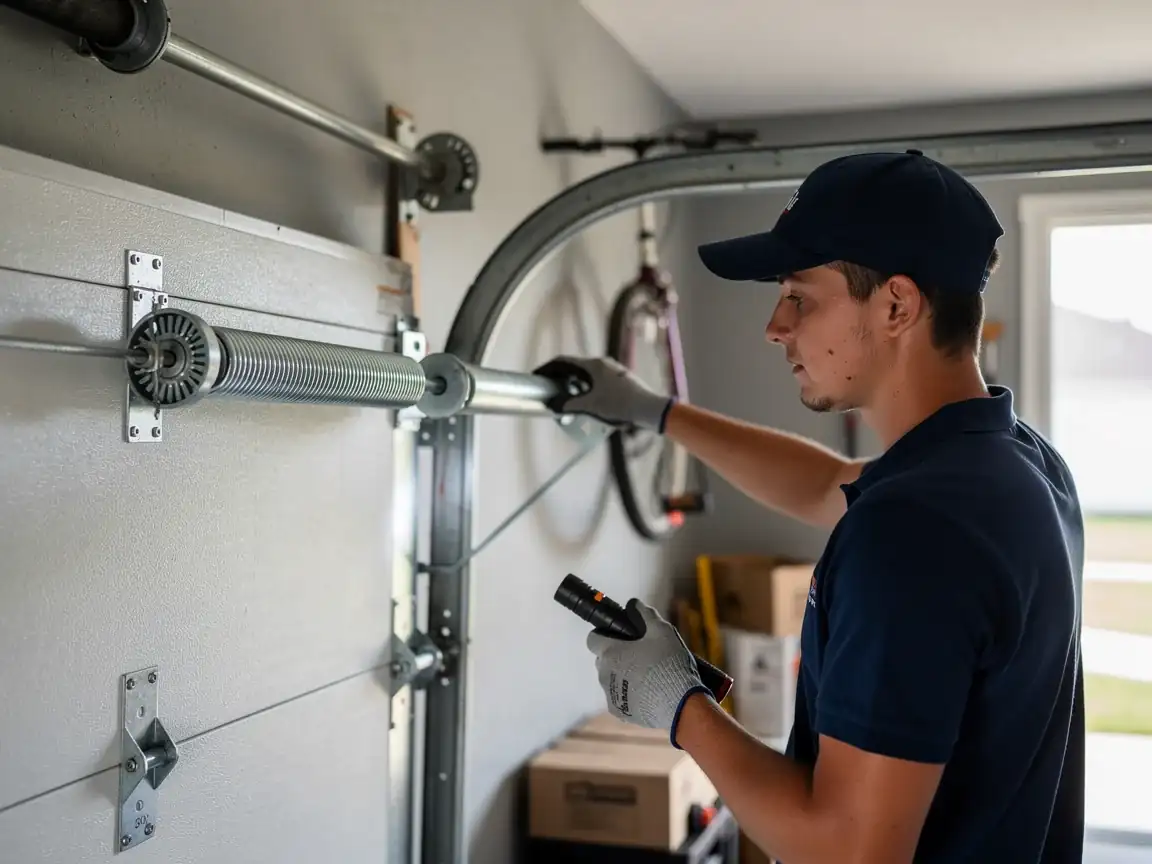
The opener that runs the motor but the door doesn't move - that's almost always a stripped gear, and it's the single most common call we get on units that have run through a decade or more of winters here. You'll hear the motor whirring with no door movement, or the door creeps up an inch and stops.
A close second: the opener that works fine in summer and struggles every cold morning, grinding through the first cycle before loosening up. That's thickened lubricant and a motor working harder than its bearings like. On older units - the kind still in a lot of houses built in the 1960s and 70s - that strain eventually takes out the capacitor or the circuit board, and the whole unit needs replacing rather than repairing.
If your opener clicks but the lights don't flash a code, or if the remote works but the wall button doesn't, that's usually a logic board issue rather than a gear issue, and it changes whether replacement or repair makes sense.
Can You Do This Yourself
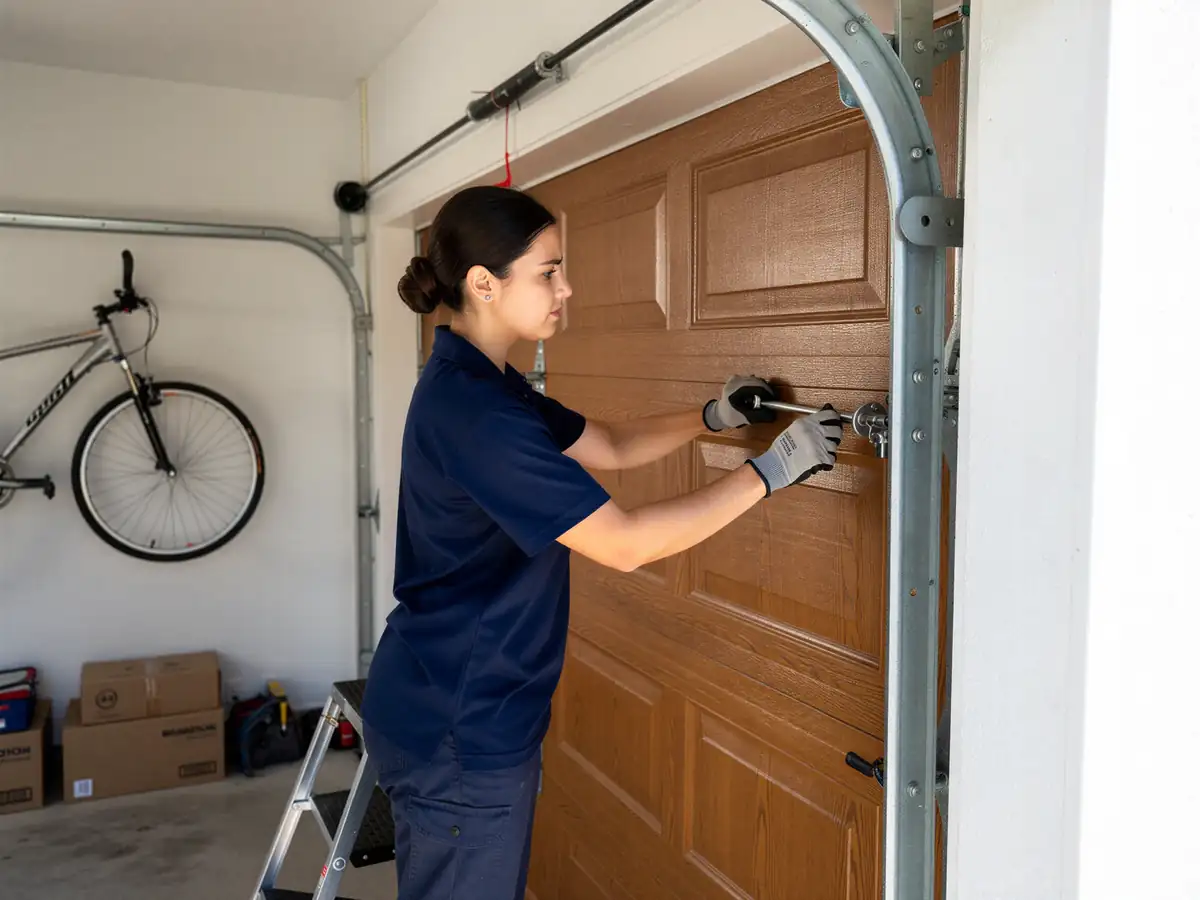
Mounting an opener bracket and running a rail is within reach for a handy homeowner
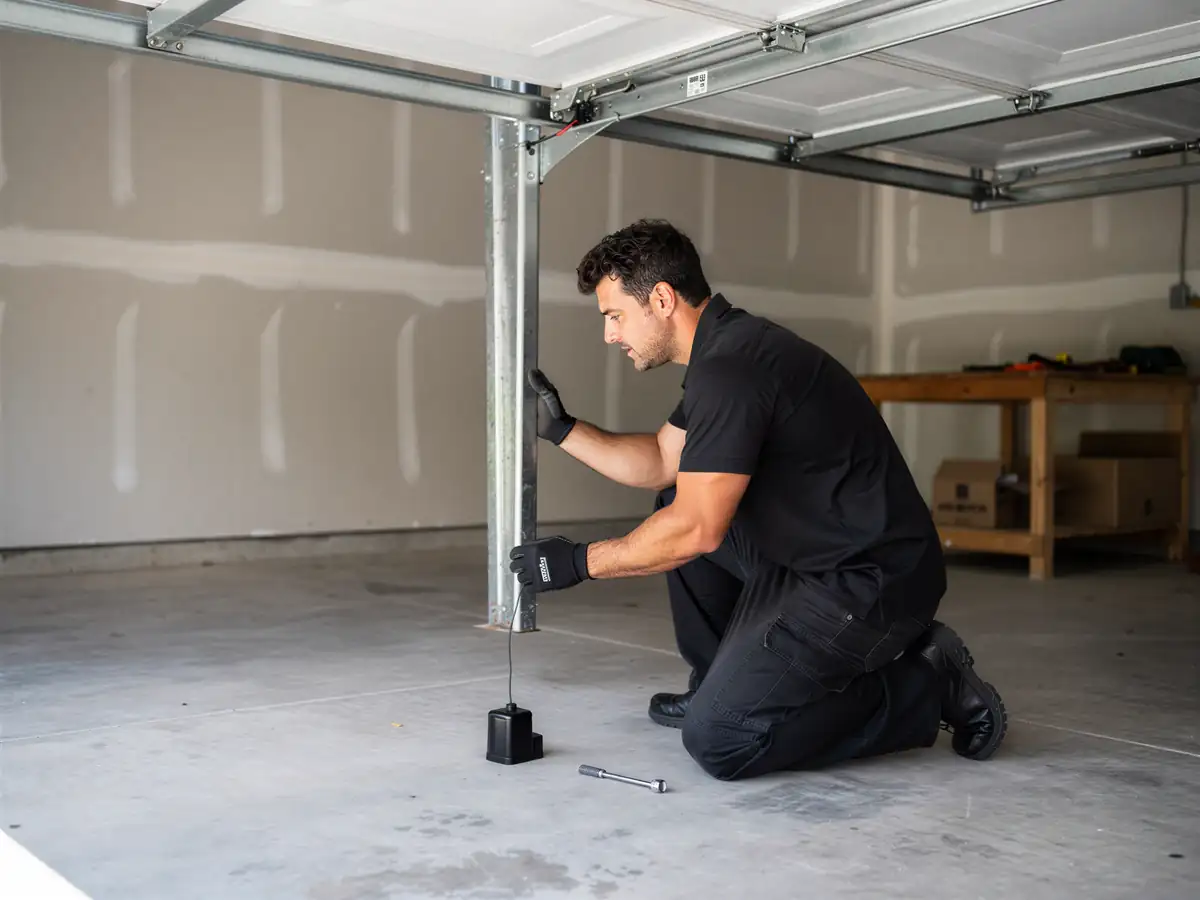
Setting the travel limits, the force settings, and aligning the safety sensors correctly is where most DIY installs go wrong - and a misaligned sensor is a safety issue, not just an inconvenience, because it's the thing that's supposed to stop the door from closing on a kid or a car.
The other honest limit
If your garage was wired before the house had a dedicated circuit for a powered opener, running that wiring safely is not a weekend project, and we'd tell you to have an electrician handle that part regardless of who installs the opener itself. We're not going to pretend every opener swap needs a truck - some don't - but we will say the safety settings are where we see the most comebacks from owners who did it themselves.